Deploy Directus to Northflank
Deploy a production-ready Directus instance on Northflank using the official one-click stack, with PostgreSQL, Redis, and MinIO storage provisioned automatically.
Northflank is a cloud platform for deploying containerized applications and their dependencies. The official Directus stack provisions a complete environment in one click: a Directus service, a PostgreSQL database, a Redis cache, and a MinIO addon for S3-compatible file storage. Northflank wires the services together and manages scaling, networking, and SSL for you.
Before You Start
- A Northflank account with a payment method on file. The Directus stack provisions three addons (PostgreSQL, Redis, and MinIO) using the
nf-compute-50compute plan, which requires a payment method even on the free tier. Add one in your Northflank billing settings before you start.
Step 1: Deploy the stack
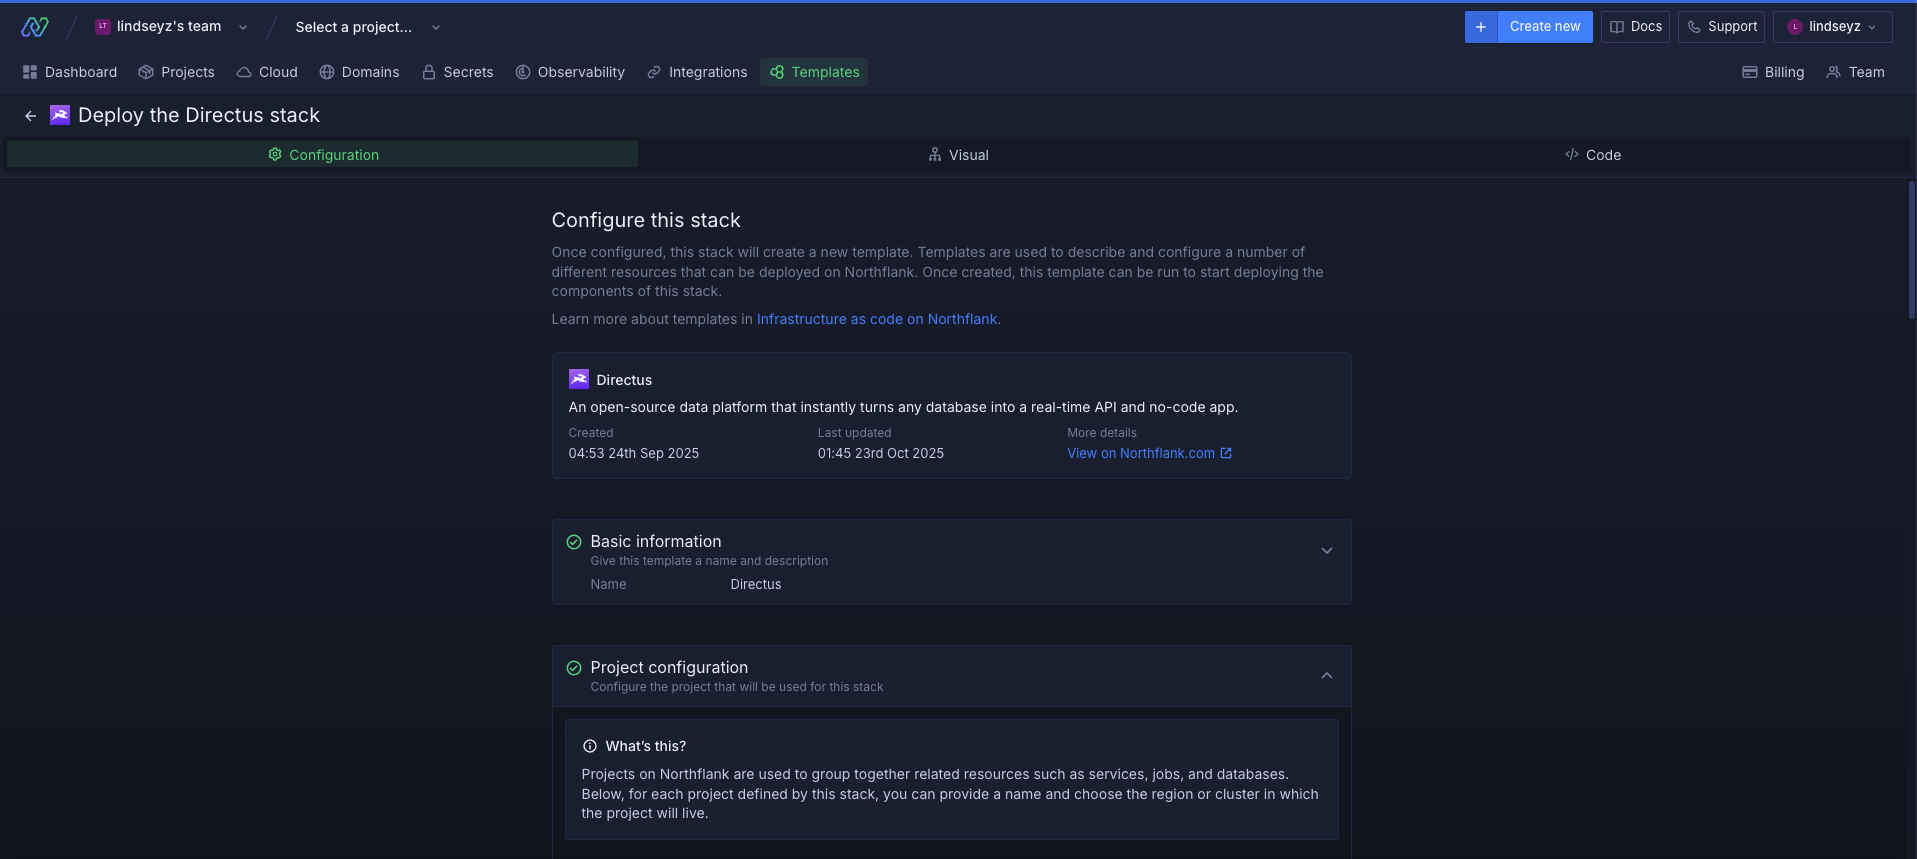
- Open the Directus stack on Northflank and click Deploy Directus now.
- Log in to your Northflank account if prompted.
- Enter an
ADMIN_EMAILandADMIN_PASSWORD. The template requires both before it will deploy, and uses them to create your first admin account. - Click Deploy stack. Northflank creates a new project containing:
- A Directus service running the official Docker image
- A PostgreSQL addon for the primary database
- A Redis addon for caching and session management
- A MinIO addon for S3-compatible file and media storage
- A secret group to manage environment variables and credentials
- Wait for all addons and the Directus service to reach a running state. You can monitor progress in the project dashboard.
Step 2: Find your Directus URL
- In the Northflank dashboard, open your project and go to the Services tab.
- Click the Directus service. Once the deployment completes, your public URL appears in the top right of the service page in the format
your-service.code.run. - Copy that URL. You will use it as the value for
PUBLIC_URLso Directus can generate correct links, handle login redirects, and serve assets.
If you want a custom domain, see Optional: Custom domain and SSL.
Step 3: Set your public URL
Now that the deployment is running, set PUBLIC_URL so Directus knows its public address. This is required for login redirects, emails, and asset links.
- In the project dashboard, open the secret group linked to the Directus service.
- Set
PUBLIC_URLto the URL from Step 2 (e.g.https://your-service.code.run). - Save your changes. Northflank will redeploy the Directus service with the updated value.
The stack automatically injects the database connection, Redis URL, MinIO/S3 storage credentials, and a generated
SECRET key from the secret group. You do not need to set those manually unless you're replacing a Northflank addon with an external service.Step 4: Log in and verify
- Open your Directus URL in a browser.
- Log in with the
ADMIN_EMAILandADMIN_PASSWORDyou set during deployment. - Once logged in, you can create collections, upload files, and start building.
File uploads are stored in the MinIO addon and will persist across redeploys.
Optional: Custom domain and SSL
- In the Northflank dashboard, open the Directus service and go to the Domains tab.
- Add your domain (e.g.
directus.yourdomain.com). - Northflank will provide a CNAME record. Add it to your DNS provider.
- Northflank provisions SSL automatically once DNS has propagated.
- Update
PUBLIC_URLin your environment variables to the new domain (e.g.https://directus.yourdomain.com) so Directus uses it in links and redirects.
Next Steps
- Configuration — all available Directus environment variables
- Deploying Directus — general self-hosting guidance and production recommendations
- File Storage — configuring or swapping the storage adapter